
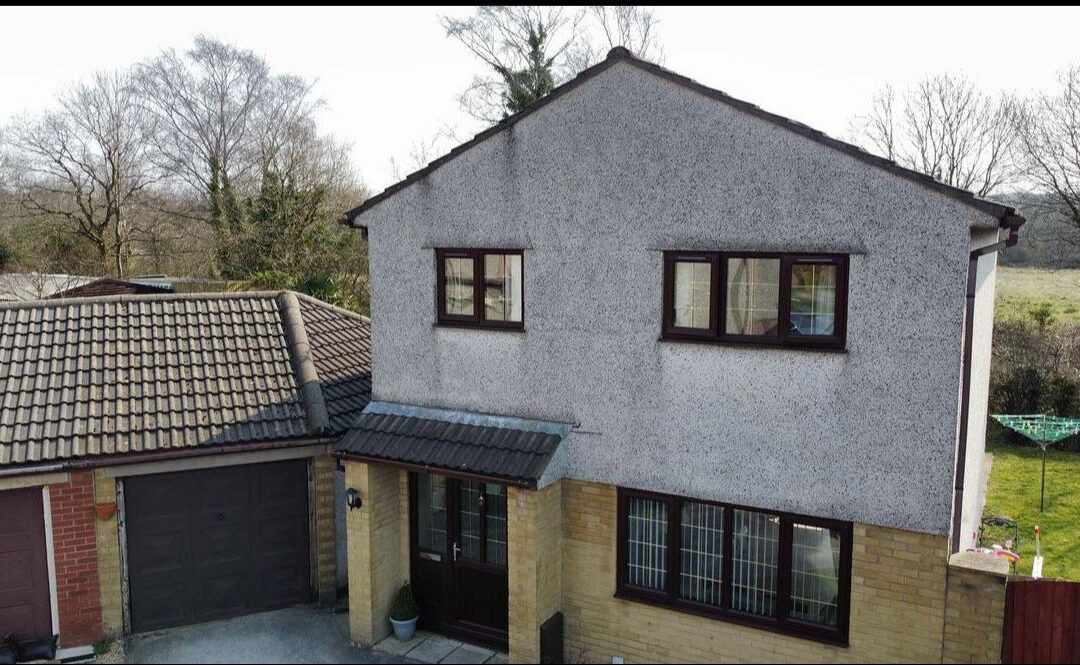
For cracks or loose pebbles, use a scraper or stiff brush to remove loosened material. If there are hollow-sounding areas, you may have to open up a larger section using a chisel and hammer. Detailed assessment of the damage will ensure you deal with it decisively, from the root cause.
Understanding the Pebble Dash
Before diving into the repair techniques, it’s crucial to understand what pebble dash is and how it works. It is primarily a form of render where small pebbles or stones are ‘dashed’ onto a layer of lime or cement mix, bonding onto the surface and creating a durable and decorative finish. Exposure to severe weather conditions or lack of proper maintenance may lead to the pebbles loosening, cracks appearing, or other types of damage occurring.
Signs You Need a Pebble Dash Repair
Typical signs that indicate your pebble dash needs a repair are hollow-sounding areas when tapped, visibly loose or falling pebbles, cracks, or patches with missing pebbles. You might also notice moisture stains on the interior walls, a sign of water seeping through cracks, holes, or gaps in the pebble dash.
Repair Tools and Materials
Having the right tools and materials is key to efficient pebble dash repairs. You will need a scraper, chisel, and a stiff brush for removing the damaged areas; a hawk board, trowel, and render float for applying the new render; a pointing trowel for helping pebbles stick; and, of course, the pebbles or stones for the dash.
Techniques for Long-Lasting Pebble Dash Repairs
- Clear Damaged Area
For cracks or loose pebbles, use a scraper or stiff brush to remove loosened material. If there are hollow-sounding areas, you may have to open up a larger section using a chisel and hammer. Detailed assessment of the damage will ensure you deal with it decisively, from the root cause.
- Prepare for New Render
It’s important to make the surface damp before applying a fresh render. This dampness prevents the immediate absorption of water from the new render, ensuring it cures slowly and forms a firm bond with the pre-existing surface.
- Apply Fresh Render
Mix your render as per the instructions provided by the manufacturer. With your hawk board and trowel, apply your mixture to the cleared areas, levelling it with the existing pebble dash surface. Allow it to become somewhat dry – not too wet, but still sticky. This is the perfect stage for applying the pebbles.
- Applying the Dash
The term ‘dashing’ simply means throwing the pebbles onto the rendered surface, where they stick to form the final layer. While doing this, ensure you have a good mix of pebbles and that they are clean. Dashing these pebbles onto the still tacky render guarantees a strong bond, forming a durable surface.
- Curing
Render requires careful and slow curing to maximize strength and durability. Use a mist of water to dampen it over the next few days, protecting it from the sun and wind, which can dry it out too quickly and result in cracking.
Regular Maintenance
Ensuring the durability of your pebble dash goes beyond the repair stage. Regular maintenance is critical in elongating its lifespan. Occasionally wash the surface with a power washer in a gentle setting, clearing all dirt, moss, or algae that might have accumulated.
In conclusion, pebble dash repair is a task you can handle effectively at home with patience, the right tools and materials, and, most importantly, the proper techniques and aftercare. By carefully inspecting, repairing, and maintaining your pebble dash, you ensure it continues to protect and embellish your home while standing the test of time. Living becomes enjoyable when you know that no matter what nature throws at it, your home’s exterior will remain as strong and attractive as ever.
Get quote for your repairs.